Sunday, June 15, 2014

Swiss Chard and Herb Tart

    Today was truly an enjoyable day of cooking.  One of the things that I love about trying out new recipes is that often times I learn something new.  With this particular recipe I had a lot of learning to do!  I am going to highlight some of those items today in case, you too, are unfamiliar with them.

     Our first Indiana garden is flourishing under my Warrior Ninja's watchful and protective eye, and my scattered watering and diligent pruning.  I am so thankful that he chose to pursue an herb garden as well as the main garden as I think there are few things in life that hold more simple pleasure than the aroma of fresh herbs being used in the kitchen!

     One of the things he planted was swiss chard...A LOT of swiss chard.  Never having cooked nor eating swiss chard but feeling strongly opposed to letting our produce go to waste due to this obstacle I searched the web of recipes that looked appealing and used up a lot of chard at one time.  I stumbled upon this recipe which seemed to fit the bill and would utilize some of my fresh herbs, two birds with one stone!

Swiss Chard and Herb Tart Ingredients
1 pound Swiss Chard - stems and ribs removed (I used two bunches and only removed the thickest stems)

1-1/2 tablespoons extra virgin olive oil
1 garlic clove minced (I probably used more)
1 15-ounce container ricotta cheese (whole milk)
1/2 cup freshly-grated Parmesan cheese
2 large eggs
1/2 teaspoon salt
1/4 teaspoon black pepper
1/4 teaspoon minced fresh thyme (I used an entire teaspoon)
1/4 teaspoon fresh oregano (I again used an entire teaspoon - I have an oregano bush)
1/8 teaspoon fresh nutmeg (I used more)

1-17.03 ounce package frozen puff pastry, thawed (two sheets)


     I have never used chard, puff pastry, or eaten a tart before so I wasn't sure what to expect!

Warrior Ninja cut from the garden and set in the sink a whole bunch of swiss chard, which I then removed from the fibrous stem (which you can eat similarly to celery) and tore into smaller pieces for ease in sauteing.
 
Left over stems sitting in the sink
    Next I decided to tackle the fresh herb preparations.  Now Warrior Ninja, Eli, and I went to a few Farmers Markets on Saturday and one of the stalls had fresh garlic!  I have to tell you folks, I SMELLED this heavenly garlicscent in the air as I was passing by before I saw it. When I found it I realized it smelled better than ANY garlic I have ever had and was quite attractive for garlic so I asked Warrior Ninja if we could buy two bunches.  It was pricier than we usually pay, $1.50/bunch.  As we walked away I kept smelling it because it was so GOOD!  We learned in talking to the girl selling it that garlic is planted in October and harvested in the spring.  We know what we will be growing over the winter! Now this beautiful garlic was sitting on my cutting board and I found I could pull the garlic cloves out.  What was going on??

    I quickly typed into Google "What to do with fresh garlic?" and found this very helpful tutorial from a girl in Paris! I pretty much do a more simplistic replication of it it here for your benefit.  As it turns out I have NEVER used fresh garlic before and didn't even realize it!  I just assumed the stuff you buy in the store is "fresh".  Nope.  Definitely have been mislead my entire life by the grocery store industry.  *Shakes fist in direction of grocery store*  See what happens when you get down and and in the dirt with your food?  What mind blowing realization you come to when you close the gap between you and your food?  HA!  WHO KNEW!?  Garlic is FRESHER when picked out of the ground THAT morning!  It doesn't have the paper casing around it or pop our easily!  I never even questioned the paper shell around it.  This leads me to wonder how many other things I accept without thinking about them...it worries me a little.  SO.  Onward!  If you have normal grocery store garlic just go ahead and mince them up at the point.  If you were lucky enough to get your hands on fresh garlic and need help getting it out the following pictures should help.

First you pull back the outer casing.  Save this as you can use it as you would an onion by cutting it into slivers for something later.

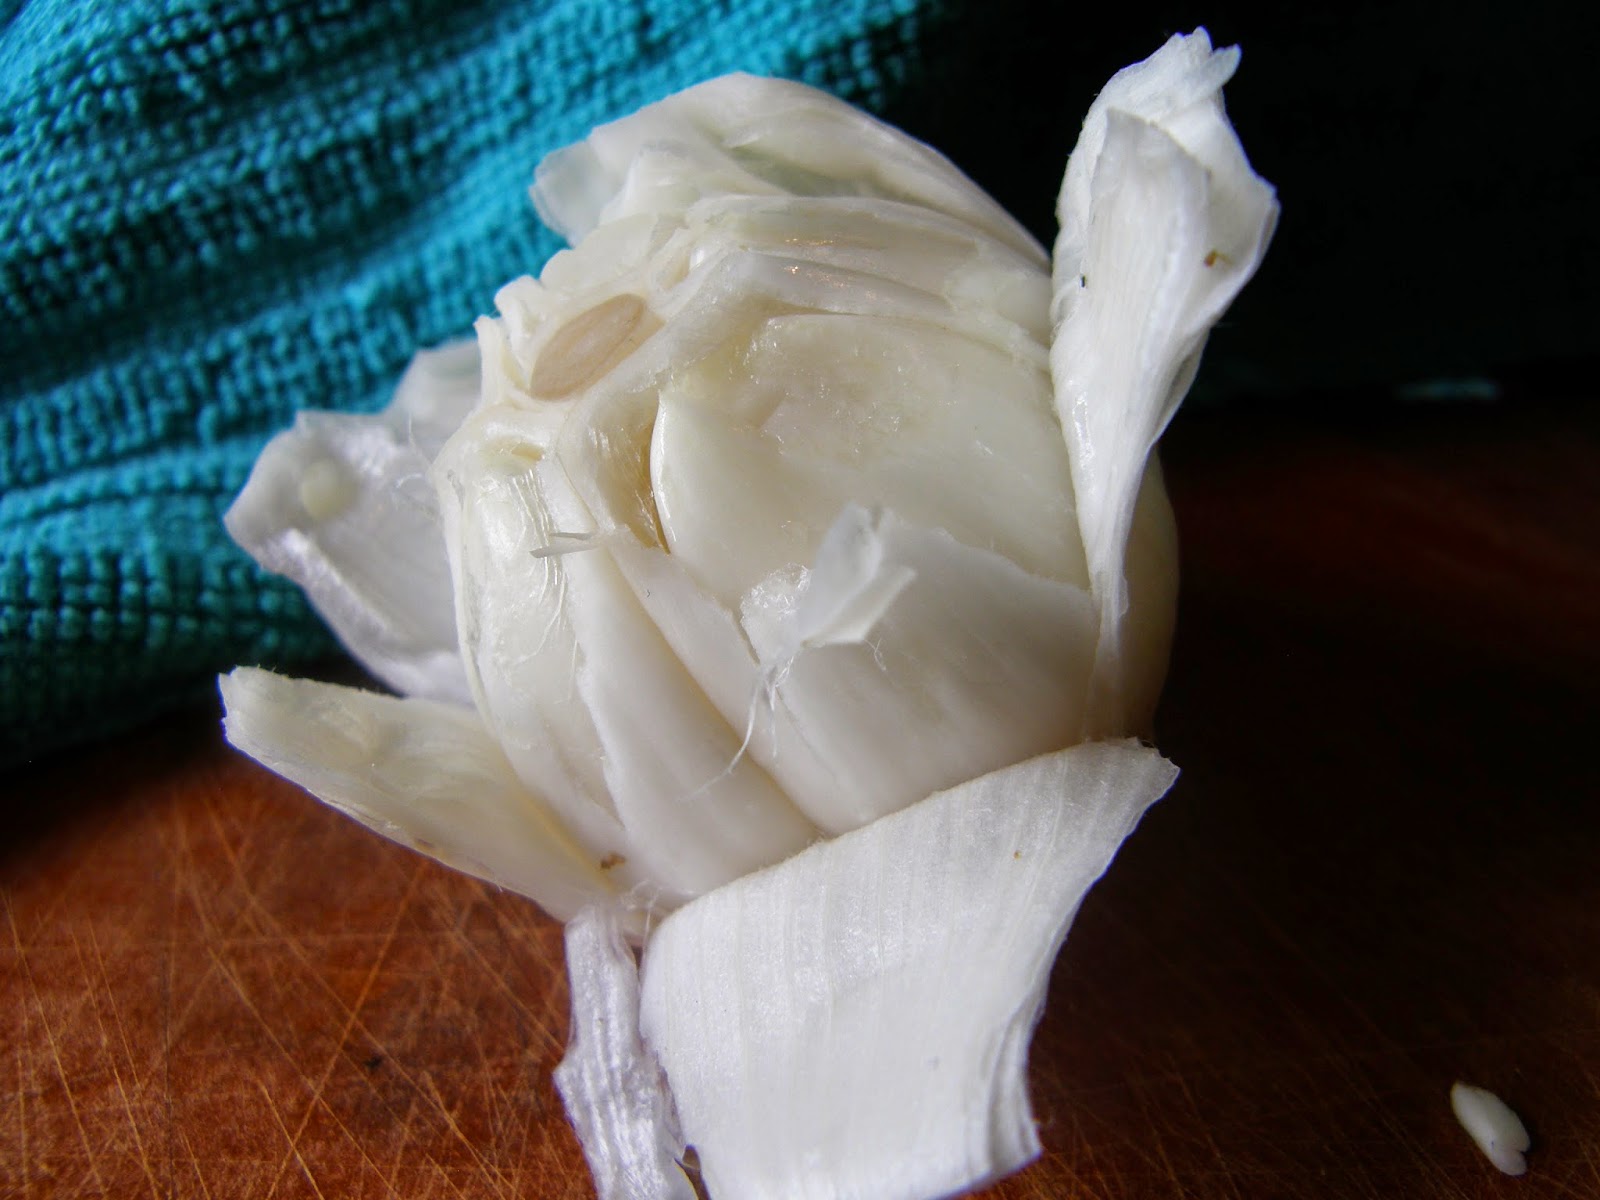
Its a garlic blossom!

Once the layers have been pulled off you will find a membrane surrounding the actual cloves.  Remove this membrane and out pops the cloves of garlic! 

Here is the center stalk surrounded by the membrane which was encapsulating the garlic cloves.  You can save the membranes also to make a garlic spread with which the girl from Paris explains in her article here.

Beautiful fresh cloves of garlic ready to mince!


    The recipe also called for fresh Thyme, Oregano, and Nutmeg.  I decided on my own to add a bunch of Basil as this is another big producer in our garden and I don't want to waste one leaf!  I read that the flavor of chard marries well with basil so there is my reasoning behind that. I chose not to saute the basil, as the recipe call for doing that with the chard, as I have found through trial and error that sauteing basil seems to take a lot of its bright flavor away. I am opting instead to chop it and add in with the other herbs without any previous cooking.


Basil
Thyme


Chopped Fresh Basil
Chopped and minced fresh Garlic, Thyme, and Oregano
The recipes calls for fresh nutmeg, I couldn't believe I actually have a jar of nutmegs!  This was my first time using them.  I used a microplane grater and was amazed, once again, by the incredible scent of the fresh nutmeg!  I have never seen the inside of a nutmeg, only having used ground nutmeg in the past.  It kindve looks like a milk chocolate candy I would want to pop in my mouth! 


After the herb preparation was done I grated the fresh Parmesan Cheese.  This was also my first time using fresh Parmesan in a recipe and yes, it actually does taste different and much better than the canned dry stuff you buy at the store.


     Finally we are ready to saute the garlic for one minute, adding the char and sauteing until wilted.  From here on out it really should have been quite easy.


  The next step was to add 15 oz. Ricotta Cheese.   No problem right?

  
     This is where I make my signature airhead move and focus on the fact that is says "14 oz" on the container.  I dump it into the char/garlic mixture and stir...and think about how it looks really really cheesy.  I subsequently realize the container says "1 lb 14 oz" and I feel like an idiot...like the time I only bought one box of sure jell while I was canning because I thought they came in lots of little packets instead of the ONE it came with...only this time its worse because the container I am holding is painfully obviously larger than 14 oz. There is a lesson to be learned here though.


    Cooking is not a science, it is a creative process!  Don't let stuff like this get you down!  Plough forward! (I don't even have a tart pan that apparently is essential in making a tart!)  I took a spoon and started spooning out as much of the extra ricotta I could.  If that didn't work I could have always gone to pick more chard and doubled the recipe.  Is it a pain in the neck!?  Heck yes!!  Was it totally frustrating.  Yea.  But I am going to win!  I am not going to let this stop me.  Ultimately don't get caught up in details when cooking!  So what?  Now I don't know if I have the perfect 15 oz in there.  It'll be fine.  You know recipes that call for red wine?  Its a suggestion (usually) based on their preference.  If you don't like red wine, or maybe you don't drink, substitute for chicken broth if appropriate.  The outcome will still taste great even if you don't have all the ingredients or substitute for ones not originally in the recipe.  Within reason of course...I mean...if the recipe calls for three eggs you probably need to put the eggs in.  Nothing really substitutes for the binding power of eggs very well...maybe cheese?    You don't have to measure exactly in cooking.  (Watch out for salt though...that is one thing that to much of can RUIN a dish.) Anyway, I hope you get my point.  Move forward!

     And so I moved forward with the rolling out of pastry dough, another "ingredient" I have never used before in cooking!  I got pre-made dough which comes in a box with two sheets of pastry dough.  Here is what it looks like fresh from the box, ready for me to roll out.


    At this point my little man woke up from his nap...almost done baby!!


     Filling goes into pie crust, baby is hanging onto legs complaining.


     I have NO idea if this is what it is supposed to look like as the recipe I am following doesn't have step by step pictures. What does a tart even look like, anyway?


     When I took this out of the oven my baby said "Wow...wow...".  I said it too!  WOW!  That looks AWESOME!
      The aroma was delicate and mouth watering.  It smelled like a summer day in the Italian countryside in my little house.  Eli and I took our first bites.  We looked at each other.  He pointed to it and emphatically cried out "Dis!  Dis!"  "mmmhmmm...this is DELICIOUS Eli!"  I gave him another bite.  Together we devored the piece on the plate.  Eli has good taste buds.  For Father's Day dinner we baked some red potatos with fresh herbs and the fresh garlic and had it with steak (the warrior ninja's present) and the swiss chard tart.  We followed it up with a dessert of the fresh strawberries I had previously frozen sprinkled with sugar.  One dinner, four ingredients used that were grown on our property, one from the farmer's market, and one from a lady that goes to our church (the strawberries).  Happy Father's Day!


Friday, June 6, 2014

Accomplishing Goals: Finishing up the Canning!

  Now, if I was Martha Stewart I would just say, "Tada!  I canned and here is what I did!", but I am NOT Martha Stewart and my story is always more complicated then it was supposed to be! If you remember, the night I left off of jam making I had realized that I had not enough pectin. I'm starting this night off right with the proper amount this time!!


  I stirred the pectin into the strawberries and brought it to a rolling boil.


      The instructions then said to pour all the sugar in at one time...that is 14 cups of sugar folks.  WOW!


    Things began to go wrong when I endeavored to pour the sugar and take pictures of the process at the same time.  Turns out I am no Pioneer Woman when it comes to taking pictures while cooking!  Some of the sugar, which I had been cautioned to measure exactly missed the dutch oven and landed on the hot surface of the electric stove.  Sugar began melting, smoke began rising, the strawberries were supposed to be continuously stirred at this point, I moved a pan from the stove and set it on a towel as a pot holder, the towel started smoking, I was taking pictures, stirring violently boiling strawberries, and attempting to get the sugar off the stove!

The camera was kind enough not to pick up the full amount of smoke from burning sugar.
     I quickly went from happy to sweaty/stressed.

 
    Well great, now I had less sugar in the strawberries than I was supposed to have...I just added a little bit more and prayed my jam would still turn out okay.


     After all the commotion died down I thought to myself, "Hey, your eight months pregnant and barefoot attempting to bring really hot jam to a, "violent boil",..maybe you should put some shoes on!? (idiot)".


    Okay, shoes on, strawberries reached the point of boiling violently.  Let me show you what that looks like.  (I keep using the word "violently" because that is what the instructions told me to let happen.  "Violently boil".)


    After the violent boiling is done you have to skim the scum off the top of the strawberry/jam/pectin mixture as best as possible.

 
   Now, finally, it was time to take the jars out of the hot water and put the jam into them!  Now we were getting somewhere!  I did one first without taking pictures of the process so that I wouldn't have a "sugar spilling on the hot stove incident".


     Okay, since that happened safely enough I'll take pictures and show you what I'm doing!  First, using tongs, take one of the jars out of the simmering water, drain it and place it on the towel.


    Then scoop some of the hot jam out of the pot and pour it carefully into the jar using a wide mouthed funnel.  You want to fill the jar, leaving a 1/4 inch space at top.  I then slid a knife around the edges of the jar to encourage air pockets to be filled.  Place the round part of the lid on the jar and screw on the lid!


     At this point everything fell apart again.  Ugh.  The water bath canner I was using is for quart sized jars.  I put the first jar in the hot water and it immediately fell sidewise and slip slided all over the place.  Ugh!!  In total frustration I called Yvonne and asked her to come over and help me.  Here I am waiting again for Yvonne to save me, feeling totally fed up.


  Yvonne brought over a calender with the brilliant idea of placing the jars inside the calender rather than on the rack.  She was a bit worried about it not being far enough off the bottom of the pan so I utilized a technique my friend Carla, over at SixLittleDucklings, taught me to lift the jars up.  I used the rings from some cans to give it added lift!


     I had to wait quite awhile for the water to reach a rolling boil at which point I set the timer for 10 minutes.  After that, I lifted out the jars one by one, setting them on the counter.  I began to hear the sound every person that undertakes the process of canning waits to hear!  The symphonic popping of cans being pressurized! Exhausted, I turned off the burners, left the cans to pop and cool, and fell into bed.  I could only hope that the jam was good.  After all my mishaps I had my misgivings. 


  The following morning Yvonne stopped in for breakfast and we open my first ever jar of canned anything.  Strawberry Jam.  I spread a little bit on an english muffin and bit in.  I have to tell you all.  I cried a little.  It was GREAT!  I didn't realize until that moment how AWESOME it would feel to create something wonderful from fresh food, put it in a jar, and have it sitting on the table next to you!  I felt so proud!  It made everything worth it.  I am TOTALLY going to do this again and I know the next time it will go smoother!  And so I present the fruit of my labor!